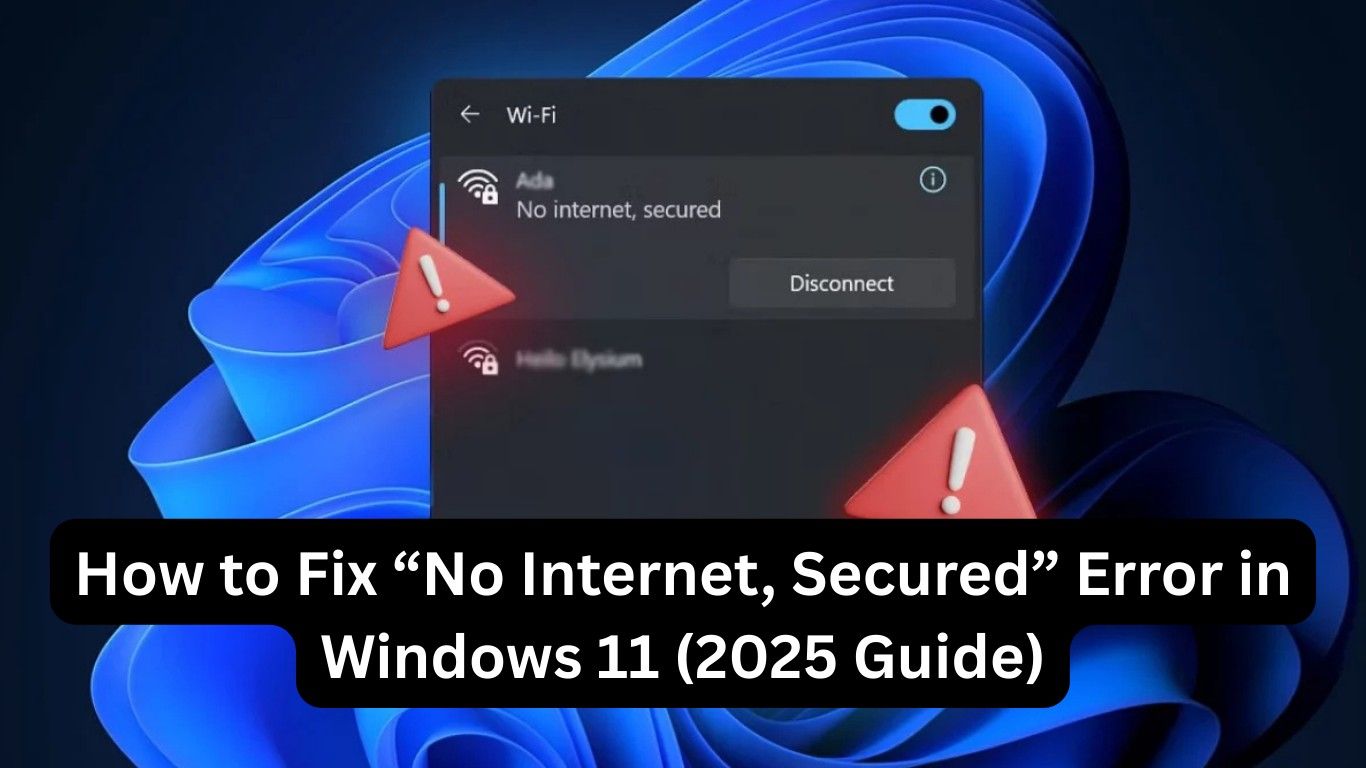
If you’re staring at your screen and wondering why your Wi-Fi says “No Internet, Secured” on Windows 11, you’re not alone. This error is one of the most frustrating problems Windows users face, especially when you know your router is working but your laptop just won’t connect.
The good news? Fixing this issue is not as complicated as it seems. In this guide, I’ll walk you step-by-step through different ways to resolve the “No Internet, Secured” error in Windows 11 so you can get back online quickly.
What Does “No Internet, Secured” Mean in Windows 11?
Before fixing the error, let’s understand what it means.
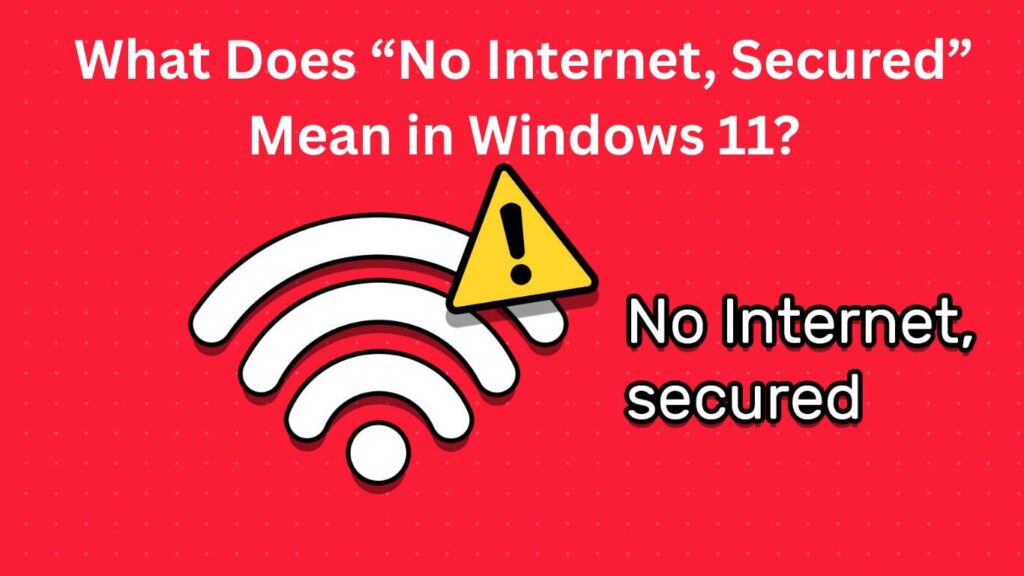
When you see “No Internet, Secured” in Windows 11, your computer is connected to the Wi-Fi network, but it can’t actually access the internet. The “secured” part just means your connection is protected with a password. The issue usually comes from misconfigured settings, outdated drivers, or temporary glitches.
Common Causes of “No Internet, Secured” Error in Windows 11
Several things can trigger this problem:
- Outdated or corrupted Wi-Fi drivers
- Incorrect IP or DNS configuration
- Issues with your router or modem
- VPN or firewall interference
- Windows 11 updates causing network conflicts
Now let’s move on to the solutions.
How to Fix “No Internet, Secured” Error in Windows 11
1. Restart Your Router and PC
The simplest fix often works the best. Restart both your router and computer. This clears temporary glitches that might be blocking your internet.
- Turn off your router, wait for 30 seconds, and turn it back on.
- Restart your Windows 11 PC.
- Reconnect to your Wi-Fi network.
2. Forget and Reconnect to the Wi-Fi Network
Sometimes Windows saves outdated settings for your Wi-Fi. Removing and re-adding the connection can fix it.
- Go to Settings > Network & Internet > Wi-Fi > Manage Known Networks.
- Select your Wi-Fi and click Forget.
- Reconnect by entering your Wi-Fi password again.
3. Update Your Wi-Fi Driver
An outdated or buggy driver is one of the top causes of “No Internet, Secured” in Windows 11.
- Press Windows + X, select Device Manager.
- Expand Network Adapters.
- Right-click your Wi-Fi adapter → Update driver → Search automatically for drivers.
- Restart your PC after the update.
👉 Pro tip: If Windows can’t find the update, visit your laptop manufacturer’s website and download the latest driver.
4. Reset TCP/IP and Winsock
A corrupted network stack can block internet access. You can reset it with a few commands:
- Open Command Prompt (search for cmd, right-click, and choose Run as administrator).
- Type these commands one by one and press Enter after each:
netsh winsock reset
netsh int ip reset
ipconfig /release
ipconfig /renew
ipconfig /flushdns
- Restart your PC.
This often fixes stubborn No Internet, Secured errors.
5. Change Your DNS Settings
If your DNS server is down or misconfigured, your PC may fail to connect to the internet. Switching to Google DNS or Cloudflare can help.
- Go to Settings > Network & Internet > Advanced Network Settings > More Network Adapter Options.
- Right-click your Wi-Fi adapter → Properties.
- Select Internet Protocol Version 4 (TCP/IPv4) → Properties.
- Set DNS manually:
- Preferred DNS: 8.8.8.8
- Alternate DNS: 8.8.4.4
- Save changes and reconnect.
6. Disable VPN or Firewall Temporarily
Some VPNs and firewalls can block internet access and trigger No Internet, Secured.
- Disable your VPN and check if the internet works.
- If yes, update or reinstall your VPN.
- You can also temporarily disable your firewall (not recommended for long-term).
7. Reset Your Network Settings
If nothing works, resetting all network settings might be the best option.
- Go to Settings > Network & Internet > Advanced Network Settings > Network Reset.
- Click Reset Now.
- Your PC will restart and reinstall all network drivers.
Advanced Tip for 2025: Check Windows Updates
Windows 11 updates sometimes cause network bugs. Always install the latest cumulative updates to ensure stability.
- Go to Settings > Windows Update.
- Click Check for updates.
- Install pending updates and restart your PC.
Also Read: How to Free Up Disk Space on Windows 11 Without Deleting Important Files
FAQs: Fixing “No Internet, Secured” Error in Windows 11
Q1. Why does my Wi-Fi say “No Internet, Secured” in Windows 11?
It usually happens due to outdated drivers, DNS issues, router problems, or conflicts caused by VPN/firewall settings.
Q2. Will resetting my network remove saved Wi-Fi passwords?
Yes, a full network reset clears all saved networks. Keep your Wi-Fi password handy before resetting.
Q3. Can Windows updates cause “No Internet, Secured” errors?
Yes. Sometimes a buggy update affects network connectivity. Installing the latest cumulative update usually fixes it.
Q4. Is it safe to disable my firewall while troubleshooting?
Yes, but only temporarily. Always re-enable your firewall after testing to stay protected.
Q5. What if none of the methods work?
If the issue persists, try using an Ethernet connection. If that works, the problem is with your Wi-Fi adapter or router. In rare cases, you may need professional support.
Final Thoughts
Fixing the “No Internet, Secured” error in Windows 11 may seem stressful, but with the steps above, you should be back online quickly. Start with simple solutions like restarting your router, then move to advanced methods like resetting TCP/IP or changing DNS.
Remember, you’re not alone—many Windows 11 users face this issue in 2025, and most fix it with these exact steps. Hopefully, this guide made you feel at home here on SolvingDad.com, where I share solutions that just work.
Also Read: