Upgrading or installing a new operating system can be exciting, and Windows 11 is no exception. But after a fresh installation, there are a few important steps you should take to ensure your PC runs efficiently, stays secure, and is customized to your needs.
In this guide, we’ll walk you through 10 essential things to do after installing Windows 11 so you can get the best out of your device.
Table of Contents
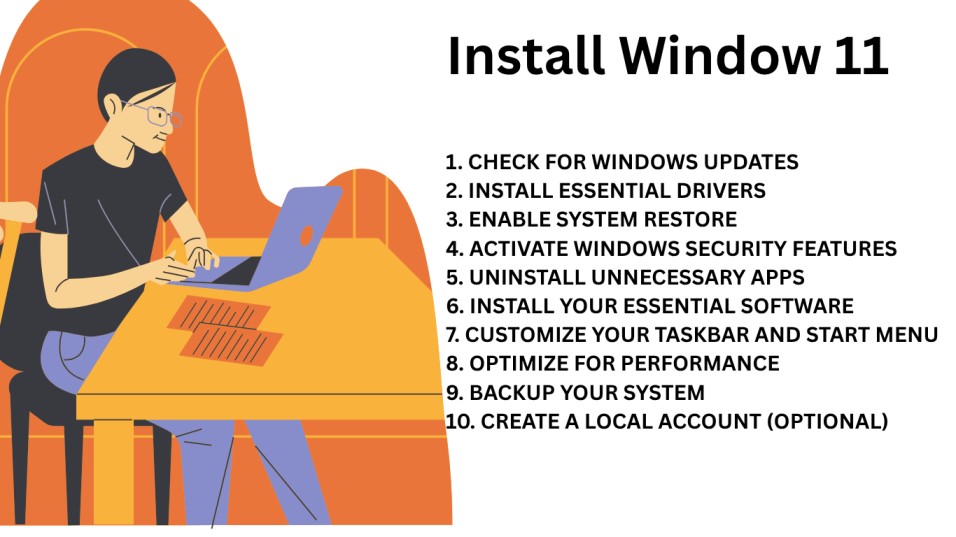
1. Check for Windows Updates
Before you start using your system, it’s crucial to make sure Windows 11 is fully updated. Microsoft regularly releases patches and improvements that fix bugs, enhance performance, and strengthen security.
- Go to: Settings → Windows Update → Check for updates
- Install all available updates and restart your PC.
Tip: Enable automatic updates to stay secure without manual checks.
2. Install Essential Drivers
While Windows 11 automatically installs most drivers, some hardware—like graphics cards, Wi-Fi adapters, or printers—may require updated or manufacturer-specific drivers.
- Visit your PC or component manufacturer’s website (e.g., Dell, HP, ASUS, NVIDIA).
- Download and install the latest versions for better performance and compatibility.
3. Enable System Restore
System Restore allows you to roll back your PC to a previous state if something goes wrong after installing new software or updates.
- Go to: Control Panel → System → System Protection
- Enable protection for your main drive and set restore points.
This is a safety net every Windows 11 user should have.
4. Activate Windows Security Features
Security should be a top priority after installing Windows 11. The built-in Windows Security app offers essential tools:
- Turn on Microsoft Defender Antivirus
- Enable Firewall & Network Protection
- Activate Ransomware Protection
For additional protection, consider pairing Windows Security with a trusted third-party antivirus.
5. Uninstall Unnecessary Apps
A fresh Windows 11 installation often comes with pre-installed apps you might never use. Removing them helps free storage and improves performance.
- Go to: Settings → Apps → Installed apps
- Remove bloatware and unused programs.
6. Install Your Essential Software
After cleanup, install the software you actually need. Some must-have categories include:
- Browsers: Google Chrome, Mozilla Firefox, Brave
- Office Tools: Microsoft Office, LibreOffice
- Media Players: VLC Media Player
- Messaging Apps: WhatsApp Desktop, Telegram
7. Customize Your Taskbar and Start Menu
Windows 11 introduced a centered taskbar and a redesigned Start Menu, but you can adjust them to suit your workflow.
- Right-click the Taskbar → Taskbar settings
- Move icons to the left, hide unused icons, or disable widgets.
Personalizing your interface boosts efficiency and comfort.
8. Optimize for Performance
If you have an older PC or just want faster performance, tweak Windows 11 settings:
- Turn off Startup Programs: Settings → Apps → Startup
- Adjust for Best Performance: Search “Adjust the appearance and performance of Windows” and select the best performance option.
- Enable Storage Sense: Settings → Storage → Storage Sense.
9. Backup Your System
Before adding too much data, set up a backup solution. This ensures you won’t lose files in case of system failure.
- Use OneDrive for cloud backups
- Or use File History and an external drive.
10. Create a Local Account (Optional)
If you prefer privacy over syncing features, create a local account alongside your Microsoft account.
- Go to: Settings → Accounts → Your info → Sign in with a local account instead.
This helps keep personal data offline while still enjoying Windows 11.
FAQs About Things to Do After Installing Windows 11
Do I need antivirus software for Windows 11?
Windows 11 comes with Microsoft Defender, which is sufficient for most users. However, adding a trusted third-party antivirus can offer extra protection.
Should I install drivers manually after installing Windows 11?
Most drivers install automatically, but for better performance, manually installing from the manufacturer’s website is recommended.
Can I move the Start Menu to the left like in Windows 10?
Yes. Go to Taskbar settings and change “Taskbar alignment” to Left.
How do I remove bloatware in Windows 11?
Go to Settings → Apps → Installed apps and uninstall programs you don’t need
How often should I check for updates?
If automatic updates are enabled, you don’t need to check manually. If not, check at least once a week.
Final Thoughts:
Following these 10 essential things to do after installing Windows 11 ensures your PC runs smoothly, stays secure, and suits your personal workflow. Whether you’re upgrading from Windows 10 or setting up a brand-new device, these steps will help you get the most out of Microsoft’s latest operating system.
Also Read: